Introduction
With a bit of care and a few precautions, weather observations can be made quite accurately at school or home. This page contains guidance and advice on how observations should be made.
However simple your weather instruments, you can make weather observations.
You should try to make your weather observations at the same time each day. You need to decide in advance what time suits you best and then stick to it as closely as you can from day to day.
Wind force
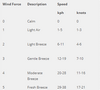
You do not need equipment for measuring the strength of the wind. You can estimate the strength by means of the Beaufort Scale. All you need to do is observe the effects of the wind on leaves, dust, smoke, flags, etc.
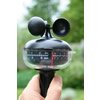
If you have a device for measuring wind speed (called an anemometer), you can use the Beaufort Scale to convert speed to force.
Wind direction
When you measure wind direction, you should do so in an open area. Wind gets funnelled between buildings and hedges and deflected when it flows around and over buildings and other obstacles.
To gauge wind direction, you need some sort of indicator. This may be, for example, a home-made wind sock (to view one, click on home-made wind vane) or a flag or pointer on top of a pole or building. You can also use soap bubbles to indicate wind direction. Ignore the movements of clouds; wind direction normally changes with height.
If you are using a hand-held device to measure either wind direction or wind speed, make sure you are not standing between the device and the direction from which the wind is blowing.
Please note that wind direction is the direction from which the wind is blowing. If, for example, the wind is blowing from the south, you have a southerly wind. If it is blowing from the west, you have a westerly wind.
When the wind is very light, the direction may vary.
Current temperature
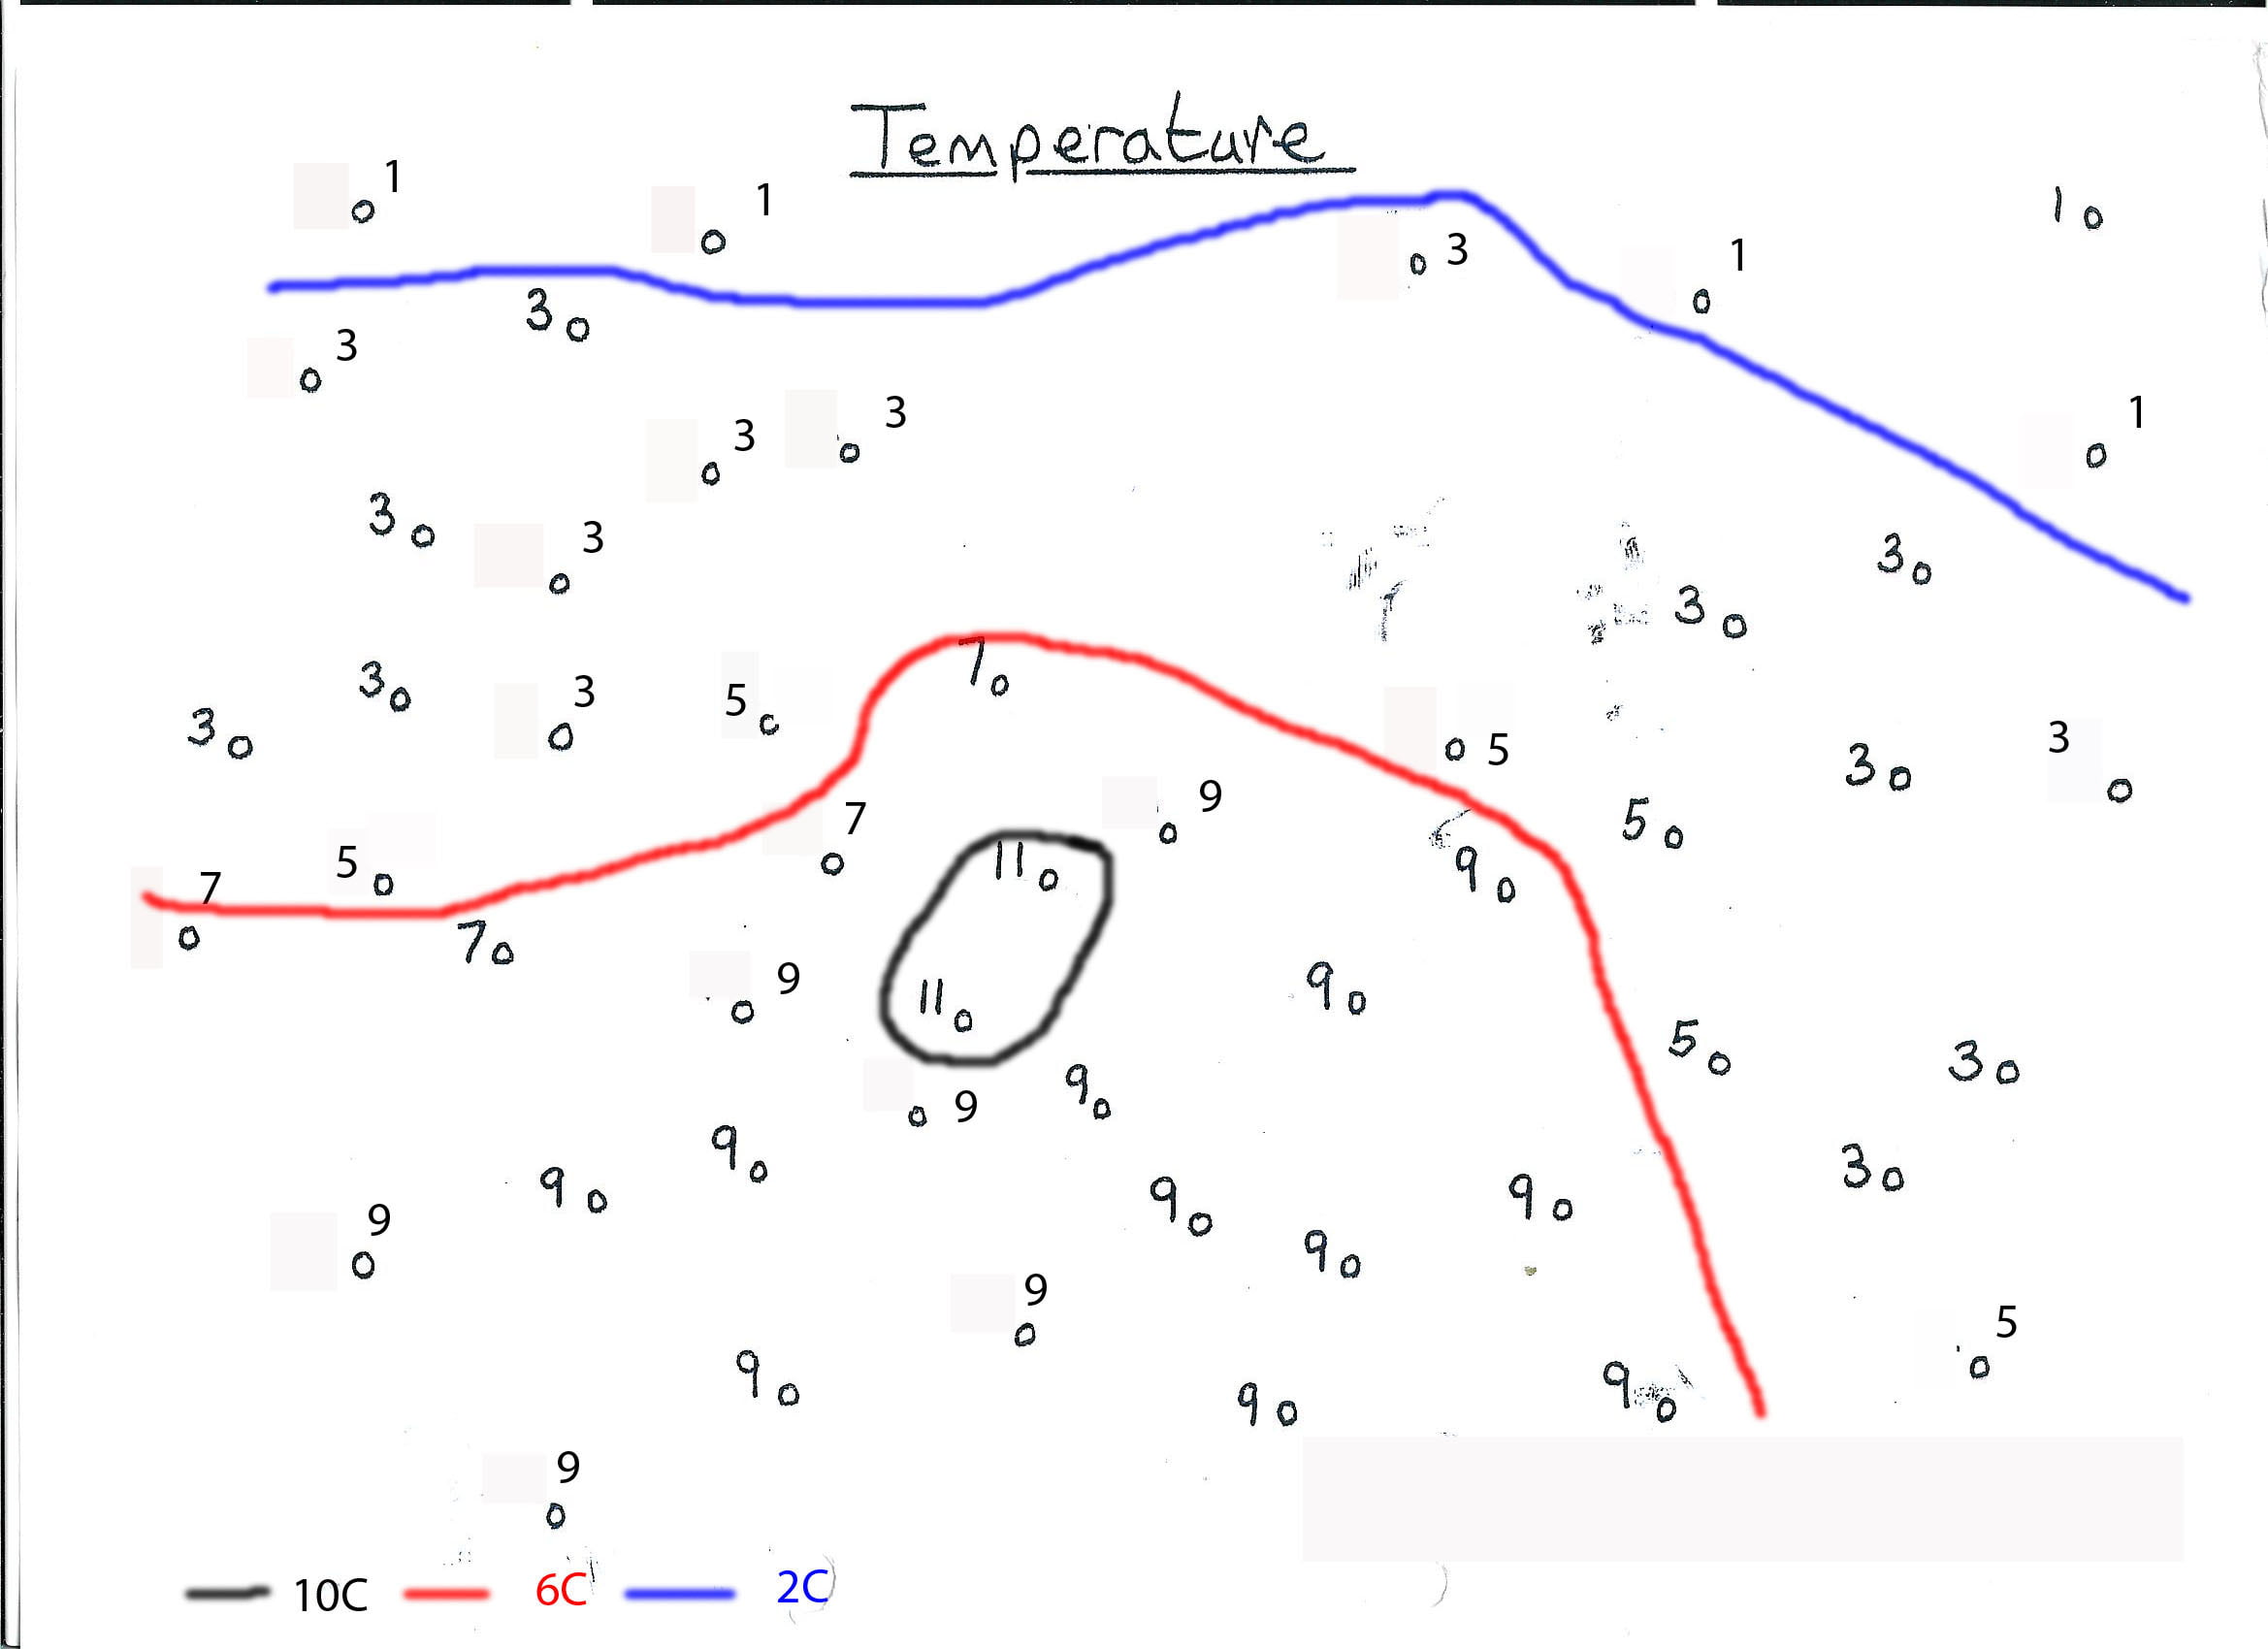
You are endeavouring to measure air temperature. Therefore, you must make sure the sun does not shine on your thermometer. Ideally, you should place it in a louvred screen, i.e. a screen which has slats to allow the air to circulate around the thermometer. Do not place a thermometer too near a building, because walls retain heat. The walls can heat up the air nearby so that it is warmer than the air circulating over an open area such as a school playing field.
Maximum and minimum temperature
Do not forget to reset your maximum and minimum thermometers each day. The highest temperature of the day normally occurs during the early afternoon and the lowest near dawn, though exceptions occur in certain weather circumstances (when a belt of rain arrives, for example).
You should reset your thermometers at the same time each day. A good time is 09:00 (9 a.m.) Local Time. If you choose that time, you should remember that the maximum temperature you record will be the maximum since 9 a.m. the previous day and probably occurred during the afternoon of the previous day. The minimum temperature recorded at 9 a.m. probably occurred around dawn on the day in question.
You must make sure your minimum thermometer is not exposed to the sky at night. If it is, it will lose heat to space and thus give a temperature reading that is too low – maybe several degrees too low on a clear night. To measure the minimum air temperature, you need to shade the thermometer whilst still allowing air to circulate around it. Ideally, both maximum and minimum thermometers should be placed inside a louvred screen.
When you record maximum and minimum temperatures, consider whether or not the figures you have obtained are reasonable. Was the maximum temperature yesterday really as high/low as that? Was the minimum temperature this morning really that low? Were the temperatures you measured today higher or lower than the highest and lowest ever recorded in your part of the world at this time of year?
Another useful check is that the maximum temperature should be higher than the ‘current temperature’ readings of both yesterday and today. The minimum temperature should be lower than these readings.
If you are making more than one observation a day, you should report maximum temperature, minimum temperature and rainfall amount only once each day. You should reset maximum and minimum thermometers and empty rain gauges only once each day.
Rainfall
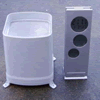
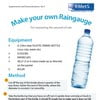
Do not place your rain gauge too near a wall, tree, hedge or fence, and do not forget to empty your gauge each day.
As with maximum and minimum temperatures, consider whether or not the rainfall amount you measured over the past 24 hours was reasonable. Was the amount you measured really that great? Was there really that much rain yesterday? What was the greatest amount ever recorded in 24 hours in your part of the world?
Relative humidity
If you are using a wet- and dry- bulb thermometer, do not forget to top up the reservoir of the wet-bulb – and do so with pure water. Use can then be made of a set of meteorological tables to compute the relative humidity.
If the temperature is below 0°C, special care needs to be taken because the ‘wet-bulb’ will probably be dry at the time of observation. If you can, brush a small amount of pure water over the cloth of the wet-bulb about 20-30 minutes before making the observation. This will allow evaporation to take place and cool the bulb, thus giving you an ‘ice-bulb’ reading.
Barometric pressure
How do you set a barometer, and why do you need to set it?
How do you find out what the barometric pressure is near you? To obtain weather observations, including pressure values, from many hundreds of places around the world, click here. For places in the United States, choose a state from the drop-down menu and then, by means of the Go button and “Select a location”, choose a place in that state. For places not in the USA, select a country from the drop-down menu under the heading “International Weather Conditions” and then choose a place in that country.
To go directly to stations in the UK, click here and select a location.
Cloud amount and type
If you cannot see the sky because of fog, haze, dust, smoke, etc, record 8 eighths of cloud (8 oktas) and that the sky was obscured.
If you cannot distinguish cloud type during hours of darkness, record “No reading made”.
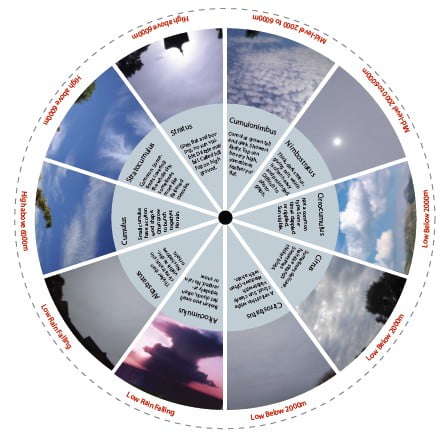
For assistance over cloud recognition, go to our cloud key. If you would like to buy a cloud identification chart, which is a laminated card for use in the field, click on Buy a cloudchart from the Royal Meteorological Society’s online shop.
Automatic weather stations and electronic instruments
Care is needed when using automatic weather stations or electronic instruments (particularly electronic thermometers). Readings need to be checked. This is very important, as these weather stations and electronic instruments can give readings that are significantly in error. For guidance and advice on the use of automatic weather stations and electronic instruments, click here.
Automatic rain gauges must be reset each day. So, too, must maximum and minimum thermometers. Maximum temperatures generally occur in the early afternoon and minimum temperatures in the early morning.
Converting meteorological units
To convert a Fahrenheit temperature reading to Celsius: first deduct 32 and then multiply the value you get by 5/9.
Thus: 59°F = (59-32)x5/9 = 27×5/9 = 15°C.
To convert a Celsius temperature reading to Fahrenheit: first multiply by 9/5 and then add 32.
Thus: 20°C = (20×9/5)+32 = 36+32 = 68°F.
To convert inches to millimetres and vice versa:
1 inch = 25.4 mm and 1 mm = 0.03937 inch.
To convert barometric pressure units:
millibars = inches times 33.8639, so 30 inches = 1015.9 mb and 1000 mb = 29.53 inches;
millibars = millimetres times 1.3332, so 760 mm = 1013.23 mb and 1000 mb = 750.1 mm.
To convert wind-speed units:
[kt = knot; m/s = metres per second; kph = kilometres per hour; mph = miles per hour]
1 kt = 0.515 m/s and 1 m/s = 1.94 kt;
1 kt = 1.853 kph, so 1 kph = 0.54 kt;
1 kt = 1.152 mph, so 1 mph = 0.87 kt.