Make your own wind vane
Wind vane

The instrument used for measuring wind direction is called a wind vane.
What you will need:
- A ruler
- A pen top
- A plastic fizzy drink bottle
- Card
- A knitting needle
- Matchsticks
- A cork
- Sand
- Blu-Tack (or similar)


What to do:
- Draw an arrow 25 cm long on the card and cut it out.
- Make another arrow by drawing around the first arrow and cutting it out.
- Place the pen top between the arrows, in the centre, and glue together. You may need to weight the pointy end of the arrow with blu tack or paper clips.
- Push four matchsticks into the long edge of the cork at right angles to each other.
- Cut out four small squares of card and label with the four main points of the compass; N, E, S, W. Attach these to the end of each matchstick with Blu-tack.
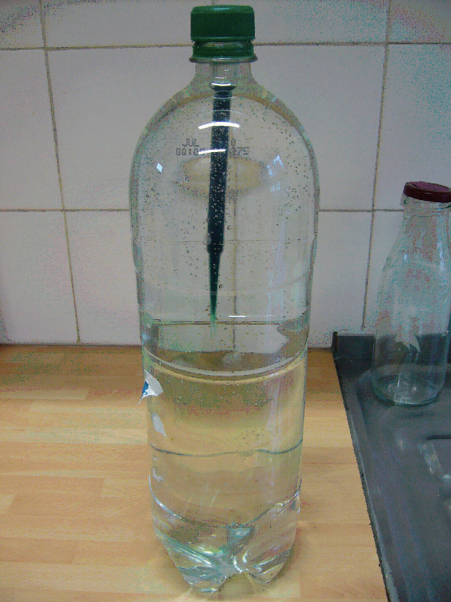
- Fill the bottle with sand.
- Push the knitting needle into the cork and push the cork in the top of the bottle. Now balance the wind vane on top of the needle.
- Choose an open area, perhaps near your rain gauge, to place your wind vane. Use a compass to point the N label on the bottle towards North.
The arrow always shows the direction the wind is blowing from.
Web page reproduced with the kind permission of the Met Office
Borrow an Instrument
Did you know the Royal Meteorological Society lends instruments to schools free of charge?


